
Transparent LED Display Site Survey Checklist: 12 Inputs Before You Request a Quote
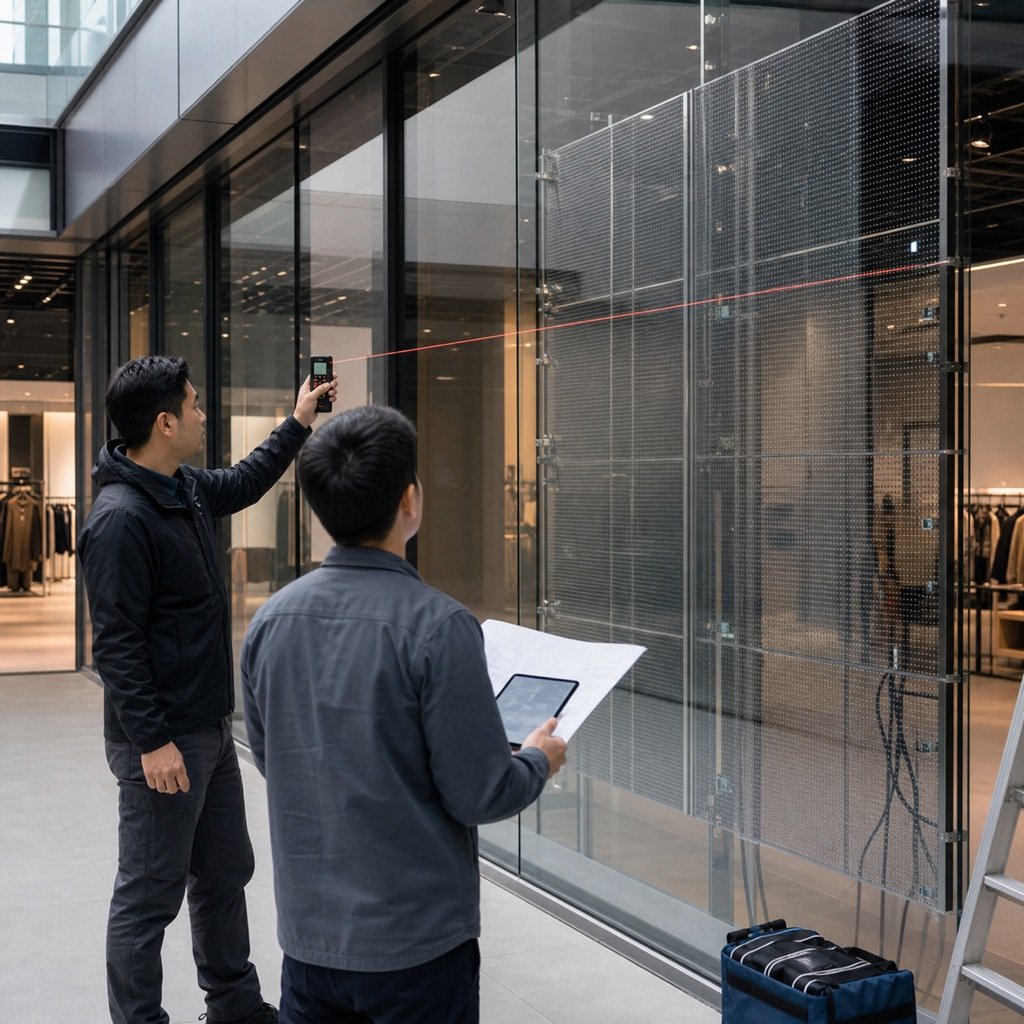
A useful transparent LED display quotation starts long before a supplier selects a pixel pitch. The fastest projects begin with a clear site survey: what the audience should see, where the screen will sit, how it will be supported, and how power, data, access, and content will work together.
This checklist helps retail teams, architects, AV integrators, contractors, and procurement managers prepare the information a display supplier needs to recommend a practical configuration. It is not a substitute for structural or electrical design by qualified local professionals, but it can reduce avoidable revisions during early-stage planning.
Why a site survey matters for transparent LED projects
Transparent LED products are selected as part of a building or interior system. Two spaces with the same screen width can require different solutions because of daylight, viewing distance, glass structure, installation access, content goals, or maintenance restrictions.
A vague request such as “please quote a 20-square-meter transparent screen” leaves important decisions open. A stronger request includes measured dimensions, photos, an installation sketch, the main viewing direction, ambient light conditions, and the project schedule. That gives the supplier a better basis for discussing product type, pixel pitch, brightness, transparency, cabinet or module arrangement, and control requirements.
The 12 inputs to prepare before requesting a quote
1. Installation location and application
State the country, city, and type of venue. Explain whether the display is for a retail window, shopping mall atrium, building facade, showroom, stage, transport hub, or another application. Also identify whether the screen faces indoors or outdoors and whether the audience sees it through glass.
2. Clear width and height
Measure the usable display area rather than only the overall wall or glass size. Record width and height in millimeters. Mark columns, mullions, doors, handles, vents, sprinkler heads, and other obstructions. If the opening is irregular, provide a dimensioned drawing with several reference points.
3. Site photos and a short video
Provide wide photos showing the whole space, closer photos of the mounting surface, and side views showing available depth. A slow video walk-through can reveal reflections, access routes, ceiling conditions, nearby equipment, and viewing angles that are easy to miss in still images.
4. Main viewing distance
Estimate the nearest typical viewer and the most important viewing distance. A person standing close to a shop window has different image-detail expectations from an audience across an atrium or street. Viewing distance is one of the inputs used to discuss pixel pitch; it should be considered together with content and budget.
5. Ambient light and screen orientation
Describe the brightest conditions the display will face. Note direct sun, strong skylights, illuminated shop interiors, or nighttime-only operation. Include the direction the glass faces if sunlight is relevant. Photographs taken at different times of day are helpful because a single evening photo may understate daytime conditions.
6. Indoor or outdoor exposure
Clarify whether equipment will be fully indoors, behind exterior glass, under a canopy, or directly exposed to rain, dust, temperature changes, or wind. Do not select a protection rating from a marketing label alone. The enclosure, connectors, cable exits, structure, and maintenance method all need to suit the actual exposure.
7. Glass and supporting structure
For window and facade projects, provide the glass panel layout, mullion spacing, available fixing points, and any restrictions on drilling or adhesive attachment. If a supporting frame is planned, share a preliminary structural drawing. Final load checks and fixings should be reviewed by appropriately qualified project professionals.
8. Available installation depth
Measure the distance available behind the glass or in front of the wall. Include space for the display, mounting system, power and data cabling, ventilation, and technician access. A visually slim product can still become difficult to service if there is no practical route to reach modules or connections.
9. Maintenance access
Explain whether technicians can approach the display from the front, rear, ceiling, adjacent panel, or service corridor. Identify opening hours and access restrictions. A maintenance plan should consider how a module, power component, or data connection can be inspected and replaced without dismantling unrelated finishes.
10. Power and data routes
Mark the location of the electrical distribution point and the proposed route for power and signal cables. Confirm the local supply information with the project electrician. Also state where the controller or playback device may be installed and whether the network connection will be wired, wireless, or managed through an existing AV system.
11. Content format and playback method
Describe what the screen will show: brand films, product imagery, live information, event graphics, or scheduled advertising. Provide the preferred aspect ratio and whether content must synchronize with other screens, audio, lighting, or sensors. The final pixel dimensions should be confirmed after the physical display layout is agreed.
12. Quantity, destination, and schedule
List the number of screens, installation phases, delivery destination, target installation date, and any site deadline. If multiple openings have different dimensions, identify each one separately. Schedule information helps the supplier organize drawing review, configuration confirmation, production planning, shipping discussion, and installation support.
A compact request-for-quotation package
For an efficient first review, send one folder containing:
- A one-page project summary with venue, application, quantity, destination, and target date
- A dimensioned site drawing in PDF
- Wide, close, and side-view photographs
- A short site video
- Notes on daylight, viewing distance, indoor or outdoor exposure, and maintenance access
- Known power, control, and content requirements
- The contact details of the person responsible for technical questions
Name files consistently, for example “Store-A-front-elevation” and “Store-A-side-depth.” If a dimension is not yet confirmed, label it as preliminary instead of presenting it as final.
Questions to ask when comparing supplier proposals
A quotation should help you understand the proposed system, not just the total price. Ask each supplier to identify the product series, pixel pitch, display dimensions, calculated resolution, module or cabinet arrangement, control method, estimated power information, maintenance direction, included accessories, packaging basis, and the responsibilities excluded from the offer.
Also check whether the recommended arrangement fits the actual glass grid or structure. A lower equipment price may not reduce total project cost if it creates extra framing, difficult access, visible cable routes, or repeated drawing changes.
Common site-survey mistakes to avoid
- Using approximate square meters without clear width and height
- Sending only front-facing photos and no side-depth information
- Choosing pixel pitch before confirming viewing distance and content
- Ignoring mullions, doors, vents, and cable routes
- Assuming “behind glass” automatically solves daylight visibility
- Leaving maintenance access until after interior finishes are complete
- Mixing preliminary and confirmed dimensions in the same drawing
Prepare the site first, then compare products
Good product selection begins with reliable project inputs. Once the site dimensions, environment, audience, access, power, control, and schedule are clear, the conversation can move from a generic price request to a workable display configuration.
Explore Jiami Display’s transparent display product categories, or send your project dimensions, site photos, viewing distance, quantity, and destination for an initial solution discussion.